Boiled eggs are a kitchen essential, but achieving that precise jammy center or fluffy hard-boiled finish can be elusive. As the 'Mastering the Basics' trend sweeps modern kitchens, we're going back to essentials. Skip the guesswork with our foolproof guide to mastering boiled eggs timing. Prepare for breakfast perfection!
- Prep time: 1 minute
- Cook time: 6-12 minutes
- Servings: Varies
Shop Key Ingredients
Before we cook, ensure your kitchen is stocked with these essentials:
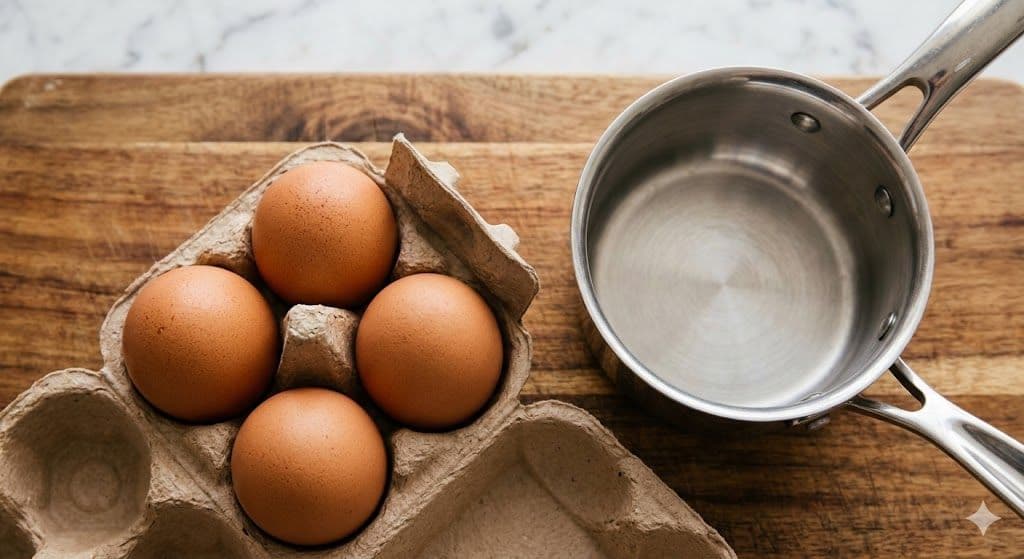
- The Right Pot: A heavy-bottomed stainless steel saucepan is crucial for even heat distribution.
- Precision Timer: A reliable digital kitchen timer ensures you never miss that critical second.
- Quality Eggs: Look for farm-fresh, large eggs for the best flavor and consistent results.
Full Recipe Ingredients
We’re keeping this purely about mastering the main event. All you need are the raw materials.
- 6-12 large farm-fresh eggs (depending on desired quantity)
- Water (enough to cover the eggs by 1 inch)
- Ice (for an ice bath)
The 5-Step Core: Perfecting Boiled Eggs Timing
Here is the definitive guide, transitioning from soft to hard, complete with exact visuals and timing.
Step 1: Gentle Introduction (Wait for the Boil!)

Start with your pot of water. Do not add the eggs yet. Bring the water to a gentle boil over medium-high heat. Lowering cold eggs into already boiling water is the secret to easy peeling later, as it shocks the whites and prevents them from sticking to the shell. This step is about preparation and patience.
Step 2: The 6-Minute Soft-Boiled Egg (Jammy Goodness)

For the ultimate trend-setting breakfast, you want the 6-minute egg. Once the water is boiling and you have carefully lowered your eggs, set your timer for exactly 6 minutes. Maintain a gentle, consistent simmer—not a violent rolling boil, which can crack the shells. This timing yields a completely set white and a rich, golden, liquid yolk, perfect for dipping toast soldiers.
Step 3: The 7-Minute 'Custard' Egg (The Sweet Spot)

The 7-minute egg is often considered the ideal 'custard' consistency. After exactly seven minutes of gentle simmering, the white is firm, but the yolk has transformed from liquid to a velvety, pale yellow custard texture. It's firm enough to slice neatly but still possesses a delightful creaminess. This is the sweet spot for ramen toppings or elevated egg salad.
Step 4: The 10-Minute Hard-Boiled Egg (Classic Firm)

When you need a classic hard-boiled egg for slicing onto salads or making deviled eggs, 10 minutes is your target. At this stage, both the white and the yolk are completely set and firm. The yolk should be a uniform, bright yellow throughout, with no trace of the dreaded green ring (which is a sign of overcooking). It is firm, yet still yields smoothly to pressure, achieving that traditional hard-boiled texture.
Step 5: The 12-Minute 'Max' Egg (Firm But Not Chalky)

The absolute upper limit of boiled eggs timing is 12 minutes. This yields the maximum firmness, where the yolk is totally solid, quite pale, and possesses a fine, almost chalky (but not unpleasant) dryness. It’s perfect for grated egg toppings or mashing smoothly. You must remove them promptly at this stage, as cooking them any longer will guarantee the appearance of the unappetizing sulfur-green ring.
Final Conclusion
Mastering boiled eggs timing is an essential skill that elevates everyday cooking, moving you from guess-work to gourmet. Whether you desire that rich, golden, jammy center (6 minutes!) or the perfect firm white and fluffy yellow yolk of a classic hard-boiled egg (10-12 minutes!), the power is now in your hands. Remember, the single most important rule isn't just the boil time—it’s the immediate plunge into an ice-water bath after cooking to stop the process instantly. We encourage you to try these timings at home and find your personal favorite 'egg sweet spot.'