The global shift toward plant-based eating is more than just a trend; it's a delicious lifestyle evolution. As visual bloggers, we've watched requests for dairy-free alternatives skyrocket, proving that sophisticated flavor doesn't require traditional dairy. Today, we are conquering the ultimate dessert challenge with a recipe that delivers pure, pillowy perfection without compromises. Get ready to elevate every treat in your kitchen with this game-changing vegan whipped cream!
Prep time: 10 minutes (plus chilling time)
Cook time: 0 minutes
Servings: 2 cups
SHOP KEY INGREDIENTS
- Premium Full-Fat Coconut Milk (the secret to creaminess!)
- Pure Vanilla Bean Paste
- High-Speed Hand Mixer
FULL RECIPE INGREDIENTS

- 1 can (13.5 oz) full-fat coconut milk (chilled overnight)
- 1 tablespoon maple syrup (or powdered sugar)
- 1 teaspoon pure vanilla extract
- A pinch of sea salt
THE 5-STEP CORE
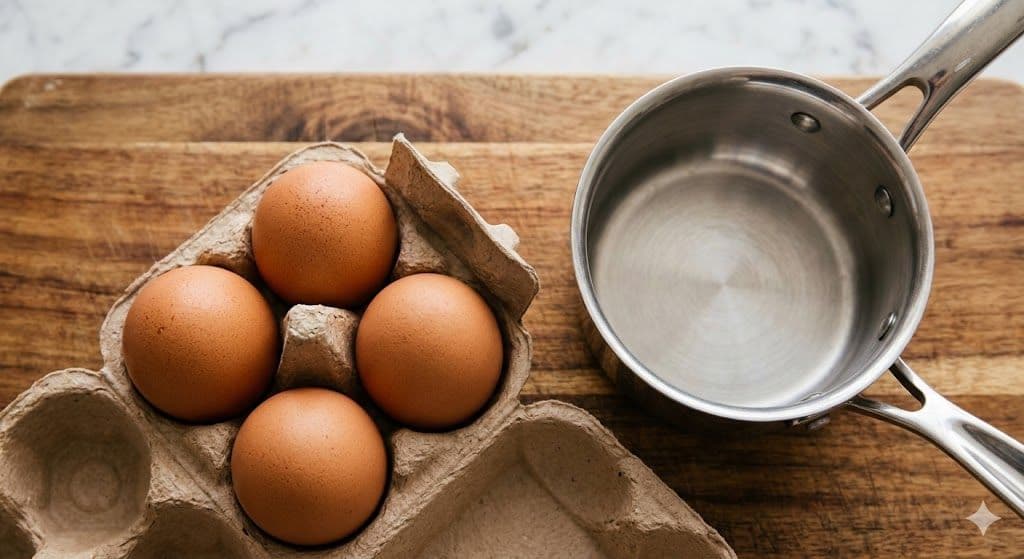
Step 1: Chilling the Foundation
The entire success of this easy vegan recipe depends on temperature. You must chill your can of full-fat coconut milk in the refrigerator for at least 12 hours (ideally 24). This prolonged cooling causes the rich coconut cream to solidify and separate cleanly from the watery liquid below. Don't skip this step, or you'll end up with coconut soup, not the airy topping seen in our hero image!

Step 2: Separating the Cream
Once thoroughly chilled (as demonstrated in Step 1), retrieve the can without shaking it. Gently open it. You will see a firm, opaque white layer of coconut cream at the top. Use a spoon to carefully scoop this solid cream into your chilled mixing bowl. Be sure to leave the clear coconut water at the bottom of the can; we won't be whipping that today (save it for smoothies!). The separated solid cream is what gives our final product its structure.

Step 3: Introducing Flavor and Lightness
With your solid coconut cream now in the bowl (from Step 2), it's time to create that signature vanilla flavor. Add your sweetener—we recommend maple syrup for a gentle glaze, but sifted powdered sugar works beautifully too for an ultra-white finish. Next, add the pure vanilla extract and that crucial pinch of sea salt. The salt balances the sweetness and brings out the complex notes of the vanilla, resulting in a gourmet taste that complements any homemade dessert.

Step 4: The Aeration Process
Now, the magic happens! Take your electric hand mixer and start whipping the mixture on low speed. As the ingredients incorporate, increase the speed to high. You are looking to incorporate air, which transforms the dense cream from Step 3 into a light, fluffy structure. Continue whipping for 2-4 minutes until the cream is smooth and creates soft or stiff peaks (depending on your preference). Watch closely—it should look remarkably like the airy dream cream topping from our hero image, ready to be dolloped.

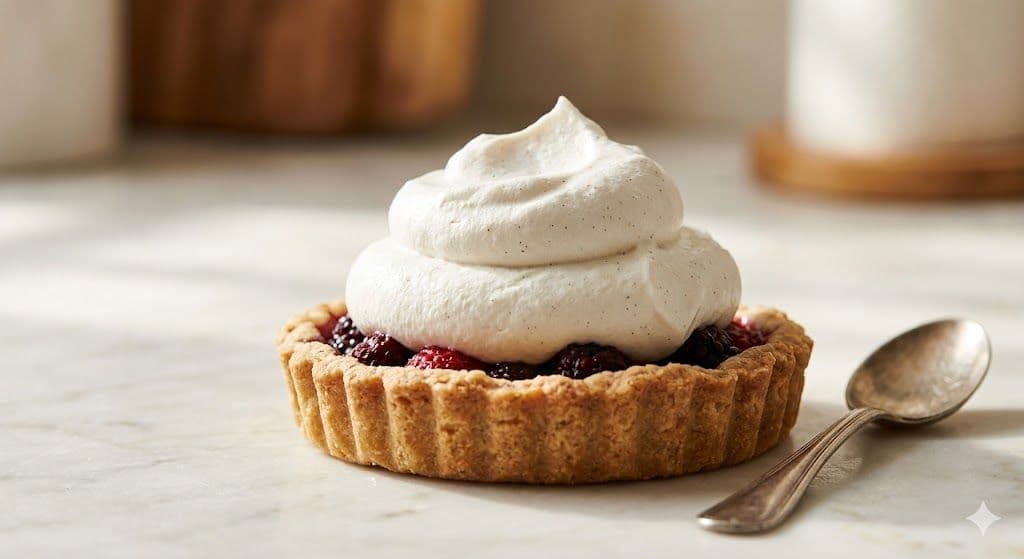
Step 5: Final Presentation
Now that your vegan cream is whipped to airy perfection (from Step 4), it's ready for its close-up! Take a look at your masterwork; it should resemble the fluffy dollop on our hero image. You can spoon it immediately onto fresh berries, lattes, or a slice of cake. For an ultra-professional touch, you can even transfer it to a piping bag with a star tip and create elegant, decorative swirls, proving that homemade and vegan can be just as sophisticated as any traditional topping.

CONCLUSION
We are absolutely thrilled to share this straightforward, guilt-free recipe that effortlessly combines modern plant-based innovation with comforting, homey appeal. We hope this step-by-step guide empowers you to master the art of homemade vegan whipped cream. It's time to bring that fluffy, illuminated perfection—just like our hero shot!—into your own kitchen.