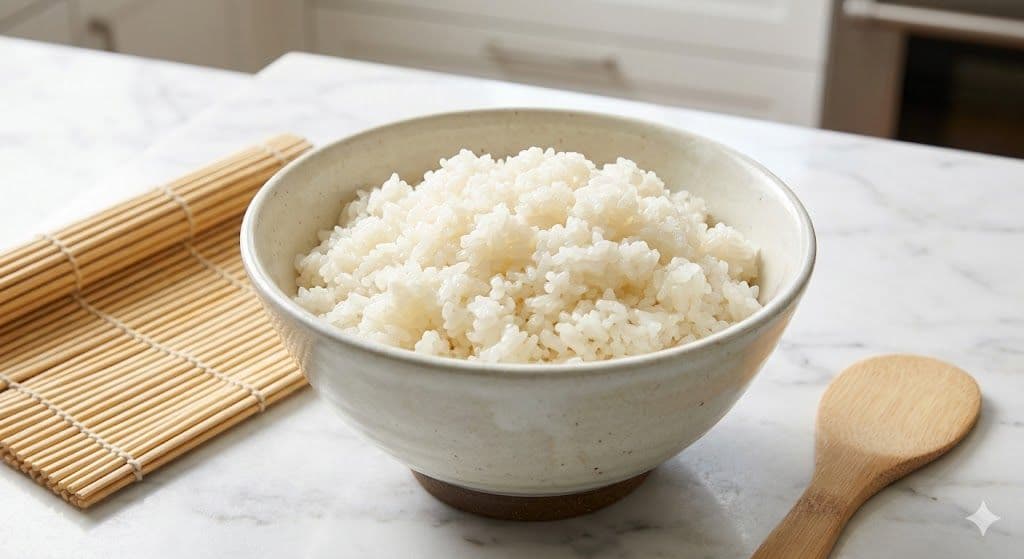
Feeling that sushi craving but wanting to master the art at home? The secret isn't just the fish—it's mastering the rice. Forget sticky, bland takeout rice; we're talking about the fluffy, perfectly seasoned, slightly sweet, and tangy rice that makes every bite of sushi incredible. This easy-to-follow guide unlocks all the techniques so you can achieve that restaurant-quality foundation in your own kitchen. Let's get rolling!
Prep time: 15 minutes
Cook time: 20 minutes (plus cooling)
Servings: Makes about 4 cups of cooked rice
SHOP KEY INGREDIENTS
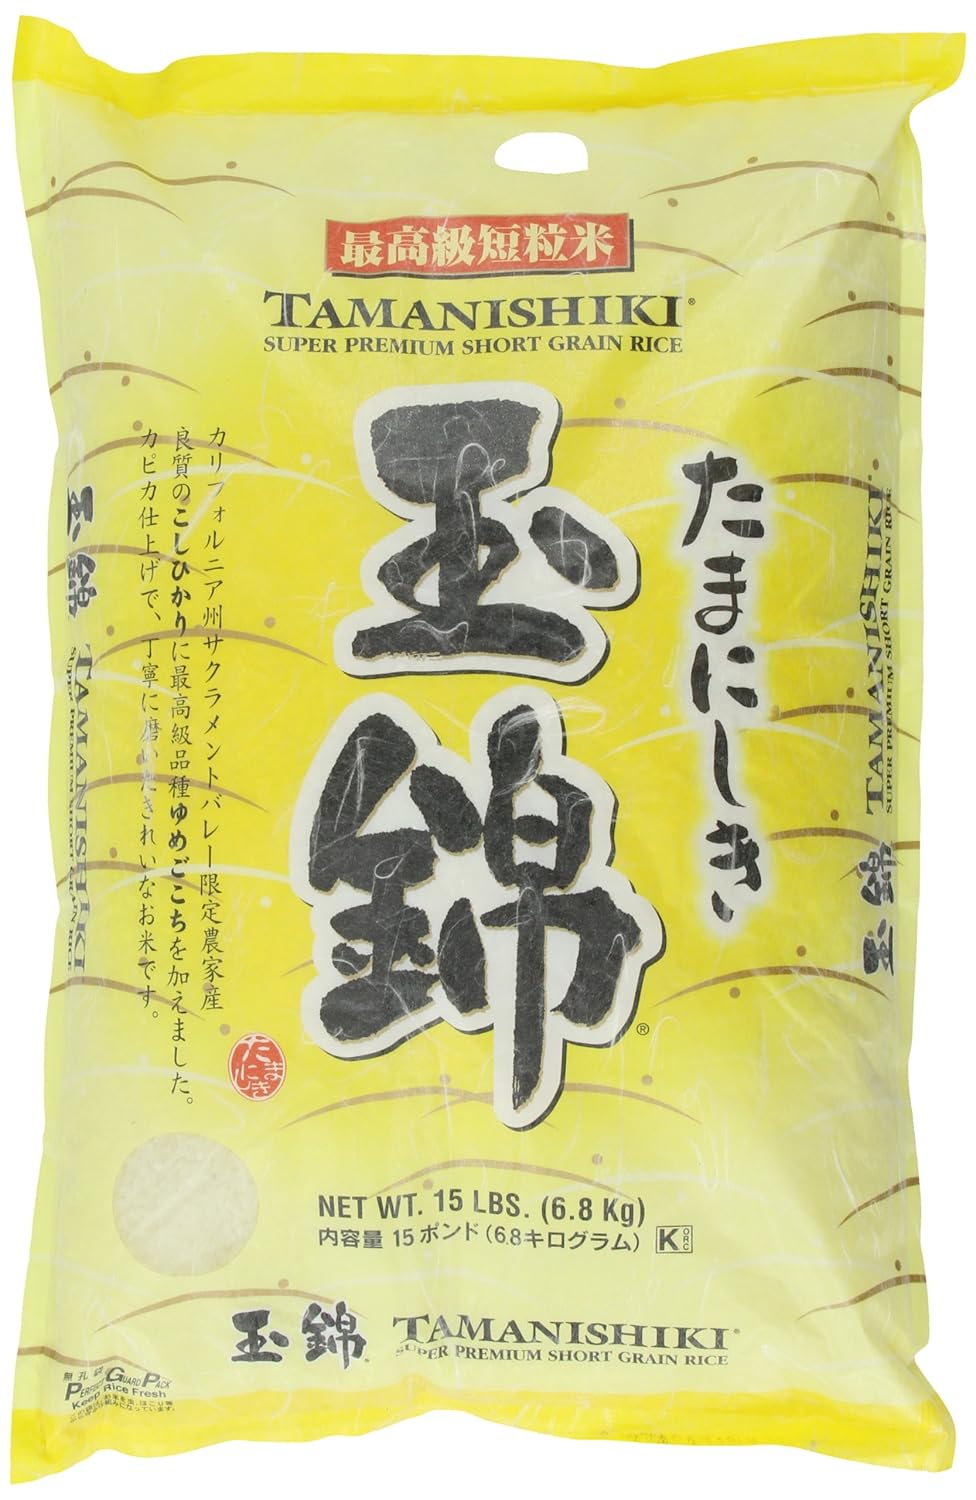
- Premium Japanese Short-Grain Rice (e.g., Koshihikari or Calrose)
- Mizkan Pure Rice Vinegar
- Japanese Wooden Hangiri (Rice Mixing Tub)
- Bamboo Sushi Rolling Mat (Makisu)
FULL RECIPE INGREDIENTS

For the Rice:
- 2 cups Japanese short-grain rice (uncooked)
- 2 cups water (filtered is best)
- A small piece of kombu (dried kelp, optional but recommended)
For the Sushi Vinegar (Su):
- 1/3 cup rice vinegar
- 2 tablespoons sugar
- 1 teaspoon salt
THE 5-STEP CORE TO PERFECT SUSHI RICE
Step 1: The Essential Rinse

The first rule of sushi rice is to rinse, rinse, rinse! This removes excess starch, preventing the rice from becoming a gummy mess. Place the raw rice in a large bowl and gently swirl it with your hand under cold, running water. The water will initially be milky. Drain and repeat this process 3–4 times, or until the water runs clear. This step guarantees distinct, fluffy grains.
Step 2: Precise Cooking

After draining thoroughly, combine the rinsed rice and the measured water in your rice cooker or heavy-bottomed pot. (Optional: Place the kombu on top). If using a pot, bring it to a boil, then reduce the heat to the lowest setting, cover tightly, and simmer for 15 minutes. Crucially, do not lift the lid! Once cooked, let the rice steam, covered, for another 10 minutes off the heat.
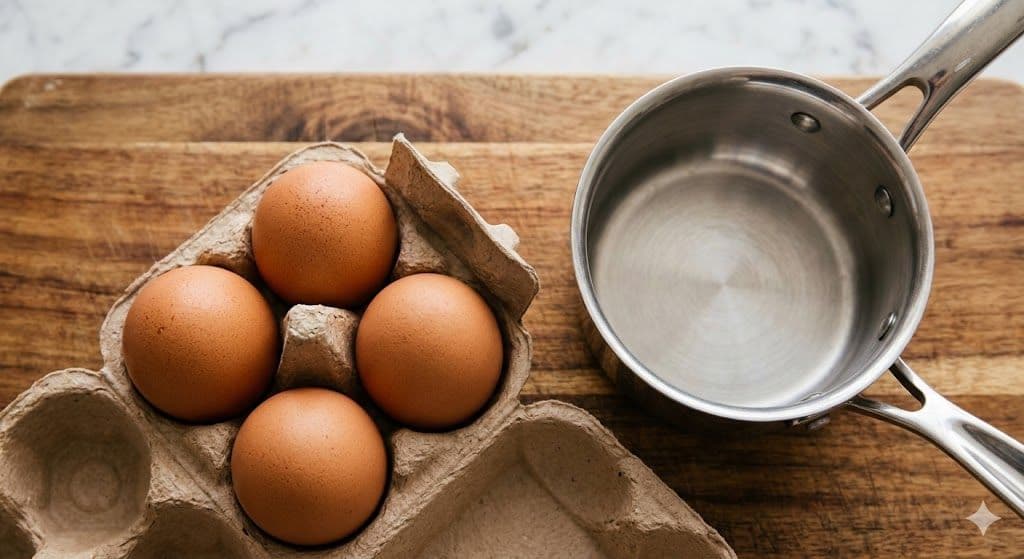
Step 3: Preparing the Su (Sushi Vinegar)

While the rice is cooking/steaming, quickly make the seasoning. In a small saucepan, combine the rice vinegar, sugar, and salt (using the Su ingredients from image 1). Heat gently over low heat, stirring constantly, until the sugar and salt dissolve completely. Do not let the mixture boil. Remove from heat and let it cool slightly. This liquid gold gives sushi rice its iconic flavor and shine.
Step 4: The Hangiri Transfer and Seasoning

This is where the magic happens! Traditionalists use a hangiri (a wide, flat-bottomed wooden tub), which absorbs excess moisture and helps the rice cool evenly. If you don't have one, use a large, shallow non-metallic bowl. Transfer the hot cooked rice to the hangiri. Pour the slightly cooled Su evenly over the rice. (Discard the kombu if used).
Step 5: The Cut-and-Fold Cooling Technique

This final step is non-negotiable! Do not stir the rice; you'll break the grains. Instead, use a shamoji (wooden paddle) to "cut" through the rice horizontally, like slicing a cake, while gently folding it over itself. At the same time, use a uchiwa (hand fan) or a small electric fan to cool the rice quickly as you cut and fold. This rapid cooling creates the beautiful sheen (su-pika) that defines perfect sushi rice. Stop fanning once the rice reaches room temperature and looks glossy.
Now that you've unlocked the secrets, you're ready to create incredible homemade sushi feasts that rival your favorite restaurant!