The Fluffiest, Golden-Hour Pancakes You’ll Ever Flip!
Is there anything more universally comforting, more buzzy on brunch Instagram, than a perfect stack of homemade pancakes? While the trendy brunch spots dominate our feeds with crazy toppings, the real trend we’re seeing is a return to masterful simplicity. Everyone wants that classic, high-end visual aesthetic at home. Forget complicated mixes or obscure ingredients. Today, we're conquering the ultimate cozy trend: nailing the fluffiest, melt-in-your-mouth scratch-made pancakes. This isn't just breakfast; it's a weekend vibe, illuminated by golden light, demanding your best maple syrup and a photo before the first bite. Let's make every morning feel like a curated brunch.
Prep time: 10 minutes
Cook time: 20 minutes
Servings: 12-15 pancakes (Serves 4)
Shop the Look: Essential Pancake Tools
Before we get to the mixing, make sure your kitchen is stocked with the right tools for this fluffy visual aesthetic:
- Our Favorite Non-Stick Griddle: This sleek, ceramic non-stick surface guarantees a golden crust without sticking, keeping your flips pristine.
- The Perfect Balloon Whisk: Lightweight but sturdy, this is crucial for aeration without overmixing. Look for a comfortable grip.
- A Simple, Flexible Spatula: Don't use heavy metal. You need a thin, flexible nylon or silicone spatula to slide gently under the pancakes.
The Perfect Pancake Batter Ingredients
To achieve that Modern-Homey Fusion look and taste, we start with high-quality basics. Here is what you need, expertly arranged on a beautiful, rustic wooden board, bathed in the soft morning light filtering onto our marble countertop.

- 1 ½ cups All-Purpose Flour
- 3 ½ teaspoons Baking Powder
- 1 teaspoon Salt
- 1 tablespoon White Sugar
- 1 ¼ cups Milk
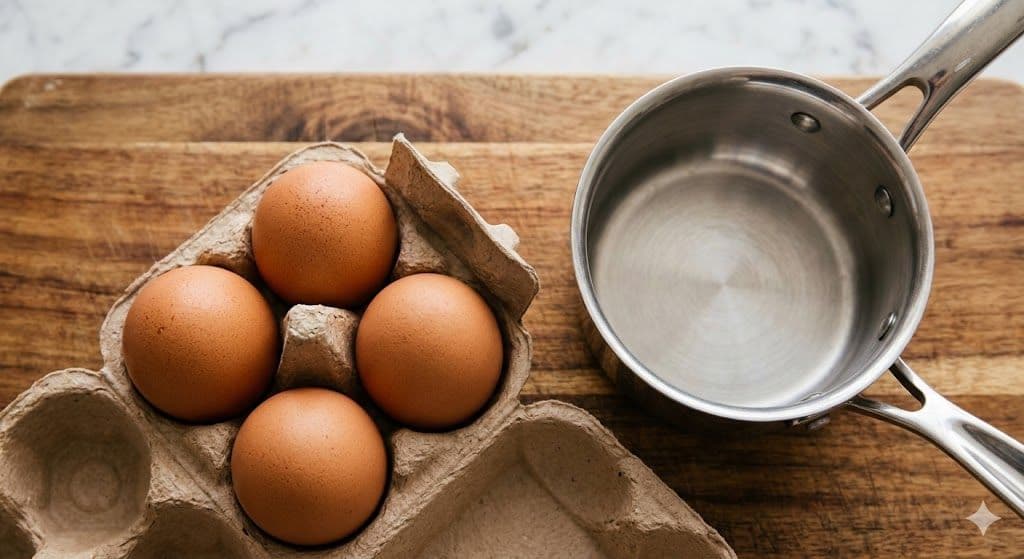
- 1 Egg
- 3 tablespoons Butter, melted
- 1 teaspoon Vanilla Extract (optional, but highly recommended for flavor)
5 Steps to Perfect Homemade Pancakes
Here is exactly how we execute the Modern-Homey Fusion method, step-by-step, ensuring maximum fluff and that signature golden-hour glow.
Step 1: Whisk the Dry, Aerate the Flour
The Strategy: For maximum rise, we must introduce air. In a large, clean white ceramic bowl, vigorously whisk together the all-purpose flour, baking powder, salt, and sugar. This doesn't just combine them; it breaks up lumps and aerates the mixture, preparing it for the lift. A simple metal balloon whisk is best for this step, illuminated by the natural morning light.

Step 2: The Well and The Wet Mixture
The Strategy: Make a 'well' in the center of your dry ingredients. This is a crucial technique: pouring the wet mix directly into the well allows you to incorporate everything gently. In a separate, smaller glass bowl or measuring cup, whisk the egg, milk, melted butter, and vanilla (if using) until combined. Now, pour the liquid mixture slowly into that center well, preparing for the gentle merge.

Step 3: Gentle Folding – Lumps are Okay!
The Strategy: This is the most crucial step for fluffiness. Using that same whisk (or a spatula), gently fold the wet ingredients into the dry. Stop immediately when they are just combined. DO NOT OVERMIX. It is perfectly fine (and actually desired) to have small lumps remaining. Overmixing develops gluten, which makes pancakes tough instead of light and tender. Keep it lumpy and keep it light.

Step 4: The Griddle Heat and The First Pour
The Strategy: Heat your non-stick griddle or pan over medium-high heat. You'll know it's ready when a drop of water dances and evaporates. Lightly grease the surface with butter or cooking spray. Use a ¼ cup measure to scoop the batter (this ensures uniform pancakes for that aesthetic stack). Pour the batter slowly onto the hot surface. Now, watch closely.

Step 5: The Bubble Tell and The Golden Flip
The Strategy: How do you know when to flip? Wait for the bubbles. As the pancake cooks, bubbles will rise to the surface and pop, leaving small holes that do not refill with batter. The edges will also look set and slightly dry. This is the moment! Slide your thin spatula underneath and flip it decisively. Cook the other side until it is perfectly golden brown.
Now that you have the standard foundation for the fluffiest, gold-hour pancakes, we can’t wait to see your homemade stacks dominating the feed this weekend!