Stop paying premium prices for basic staples! The hottest bar scene isn't downtown—it’s right in your kitchen. This is the simplest DIY hack that bartenders are quietly utilizing to streamline their craft. You don't need a degree in mixology to achieve perfectly sweetened beverages. Master this fundamental technique and immediately elevate your home bar status.
- Prep time: 2 minutes
- Cook time: 5 minutes
- Servings: Makes about 1.5 cups (12 oz) of syrup.
SHOP KEY INGREDIENTS
Before you start, make sure you have these essential tools ready for the perfect, crystal-clear syrup:
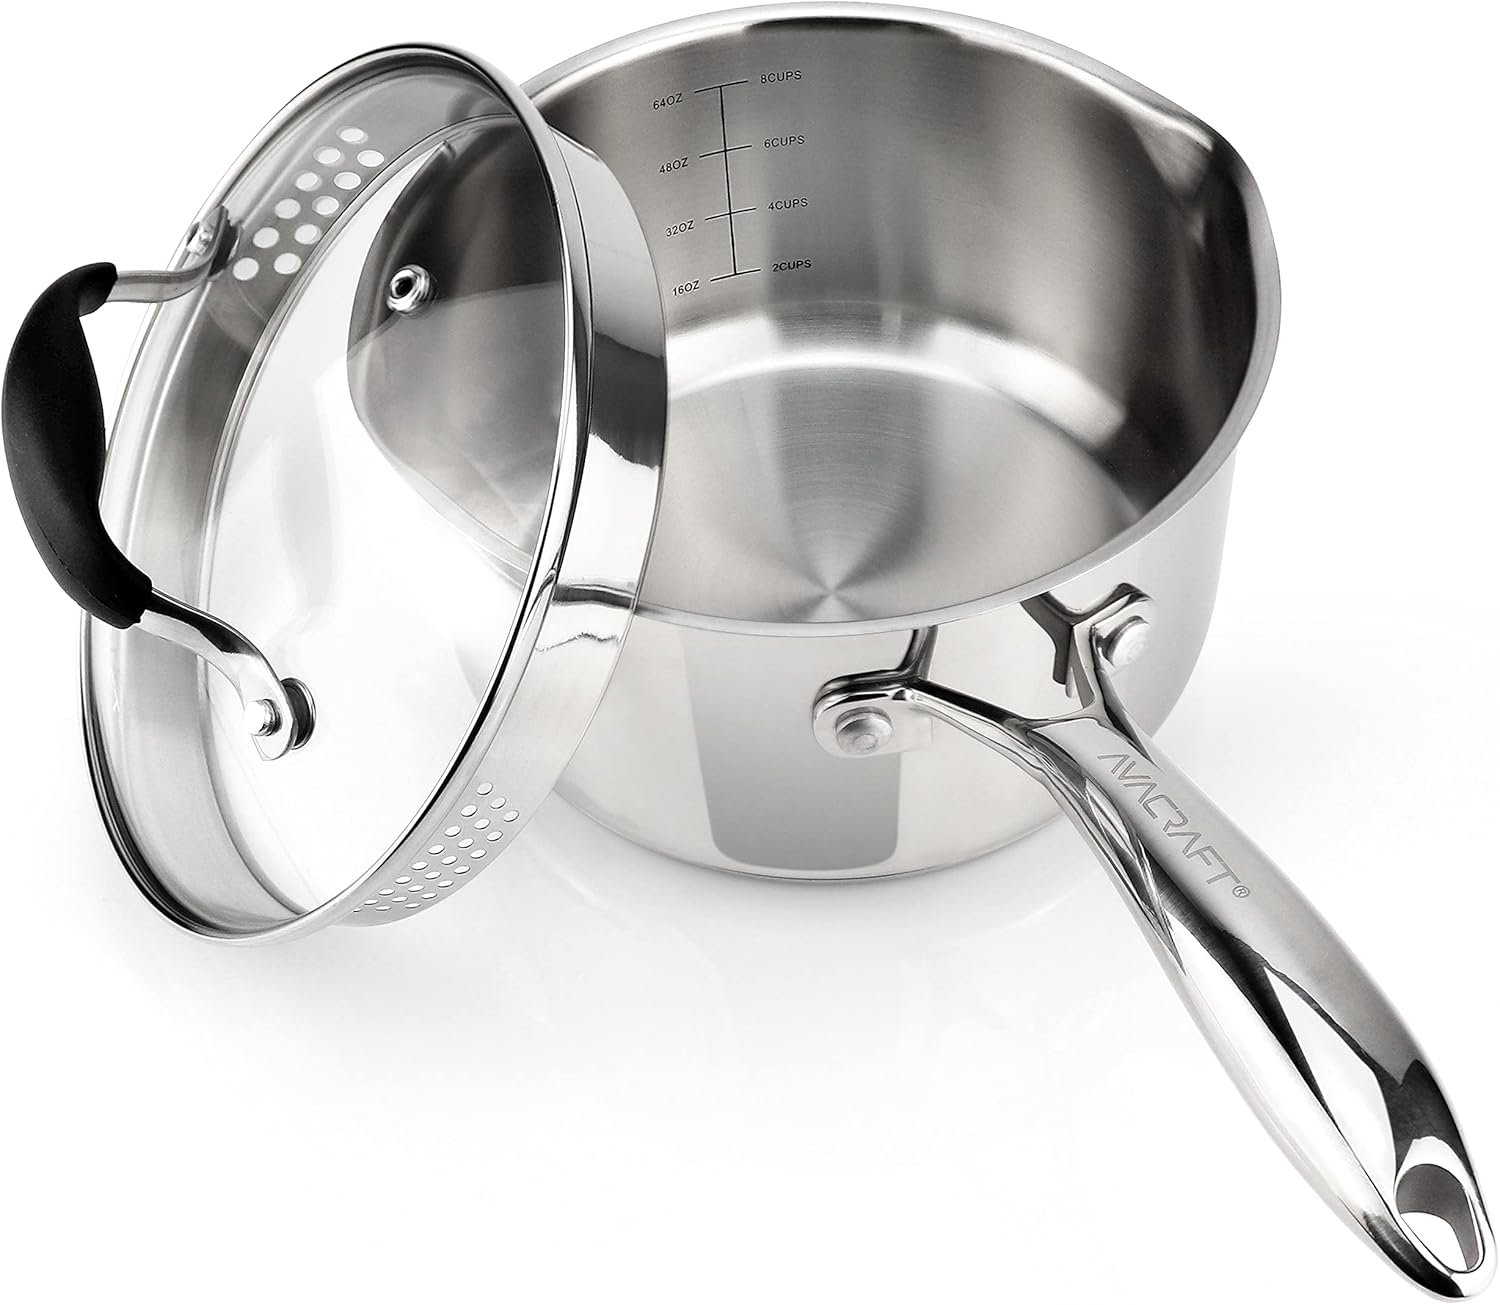
- A Precision Small Saucepan: (For even heating)
- Fine-Mesh Strainer: (Optional, but useful for infusions)
- Glass Swing-Top Bottles: (Best for airtight storage)
- A Reliable Kitchen Scale: (For 1:1 ratio accuracy)
FULL RECIPE INGREDIENTS
Simple syrup is a classic for a reason: it’s exactly what the name implies. You only need two standard household ingredients. No preservatives, no complex additives—just pure, homemade sweetness. Here is what you will need:

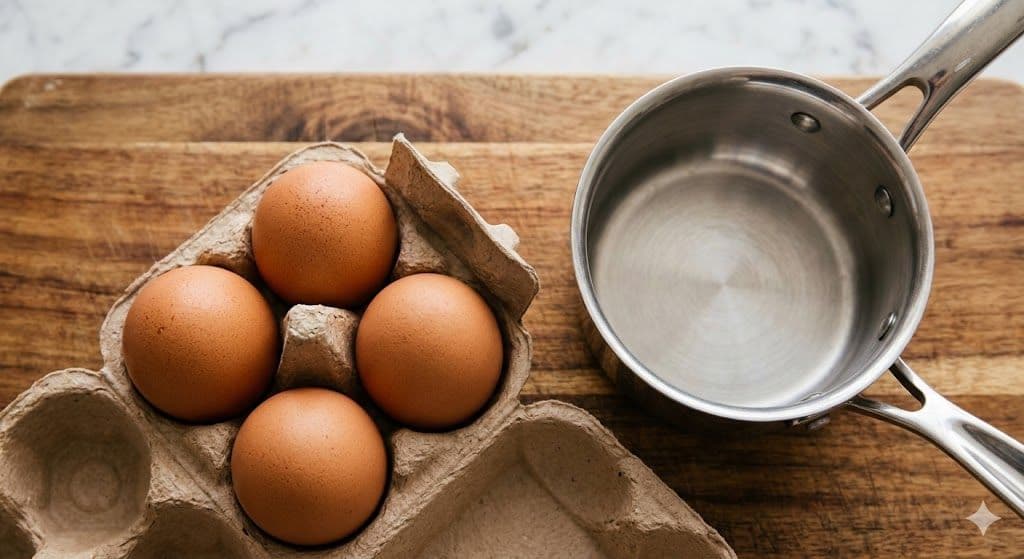
The ingredients, as pictured on the wooden board (image_1.png):
- 1 Cup Water: Standard tap or filtered water works perfectly.
- 1 Cup White Granulated Sugar: (You can substitute cane sugar, but it will slightly discolor the syrup).
THE 5-STEP CORE: MASTERING SIMPLE SYRUP
We are going to make a classic 1:1 simple syrup. The process is straightforward, but precision is key for a consistent result. Follow these steps and watch how quickly you become your own preferred barista/bartender.
Step 1: Combine the Elements
To begin, you will combine your measured water and sugar. The water provides the solvent, and the granulated sugar provides the sweetness. Place them together into a small saucepan. Do not apply heat yet; just let the sugar begin to settle naturally into the water. This is the foundation of your syrup.

Step 2: Gentle Heating and Dissolution
Now, apply medium heat to the saucepan. The goal is not to boil the mixture vigorously, but rather to gently warm the water. Increased temperature allows the water to dissolve the sugar completely, creating a stable syrup. Use a small whisk or spoon to gently stir the solution as it heats; you will see the cloudy water gradually turn clear as the crystals vanish.

Step 3: Achieving Complete Clarity
This step is vital for a high-quality DIY product. Once all the sugar crystals have dissolved, continue to heat it for just one additional minute. This ensures that the solution is stable and won't re-crystallize later in the bottle. The mixture should be fully transparent and slightly visibly denser than water, but it must not begin to color or caramelize. Remove the pan from the heat immediately.

Step 4: Cooling Gracefully
Patience is key. Allow the hot syrup to cool completely inside the saucepan while it rests on the countertop. Transferring hot syrup directly to a cold glass bottle could cause the glass to crack. The syrup should reach room temperature naturally, which will take about 20-30 minutes. As it cools, the mixture might seem slightly thicker.

Step 5: Secure and Store
Once completely cool, it's time to bottle your creation. Insert a small, clean funnel into the mouth of your storage container—the clear glass swing-top bottle is ideal for airtight storage. Carefully pour the finished, crystal-clear simple syrup into the bottle. Seal it tightly and store it in the refrigerator. This homemade batch is shelf-stable for 3-4 weeks. Your DIY staple is now ready for your next cocktail or iced coffee.

Congratulations! You have successfully mastered the art of simple syrup, the fundamental sweetener used by professionals. By following this easy 1:1 ratio and five simple steps, you have created a pure, customizable, and budget-friendly staple right in your home kitchen. From refreshing iced tea to classic Old Fashioneds, this crystal-clear liquid is your ticket to consistent, delightful drinks. Go ahead and experiment with infusions; the possibilities are endless. We encourage you to whip up your own batch this weekend and immediately elevate your home beverage game!