Forget everything you think you know about breakfast! While "chef-level scrambled eggs" might sound intimidating, the real secret isn't fancy equipment—it's mastering a simple technique that focuses on patience and temperature control. We are breaking down the buzzy cooking method making rounds on social media, showing you exactly how to achieve that silky, custard-like texture usually reserved for high-end brunch spots right in your own kitchen. Whether you're fueling up for a busy day or indulging in a slow weekend, this approach transforms humble eggs into a luxurious experience.
- Prep time: 2 minutes
- Cook time: 5 minutes
- Servings: 1-2
Shop Key Ingredients
To achieve that specific, creamy texture shown above, you will need a few key tools and one important dairy addition.
- Silicon Spatula: A flexible, heat-resistant spatula is non-negotiable for constantly scraping the bottom of the pan.
- Non-Stick Pan: 8-inch or 10-inch is ideal for controlling heat distribution for 2-3 eggs.
- Crème Fraîche: The secret ingredient many chefs use to stop the cooking process and add tang.
- Flaky Sea Salt: For finishing.
Full Recipe Ingredients

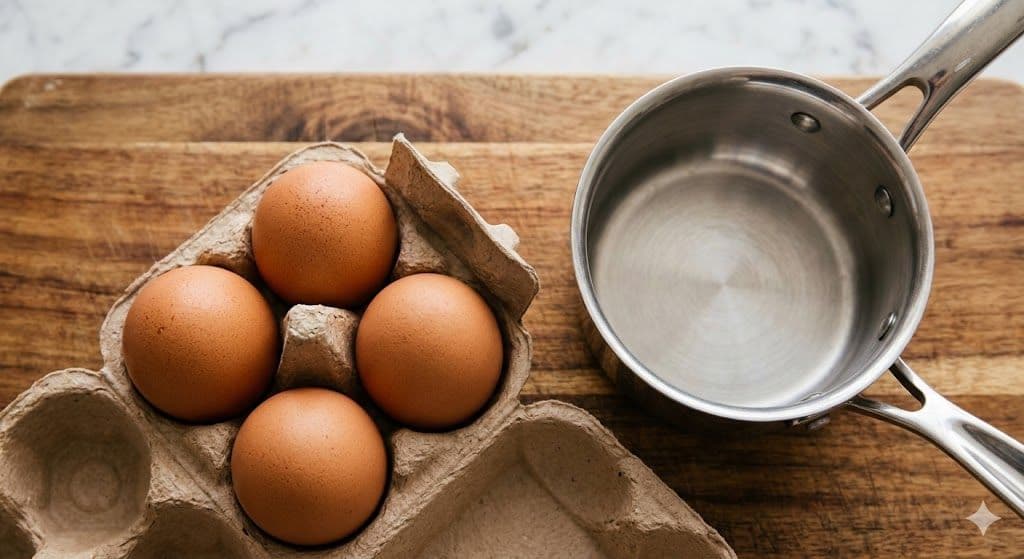
Here is everything you’ll need to make these elevated scrambled eggs, laid out and ready for the pan (as seen on the wooden board above):
- 4 Large Eggs (preferably pasture-raised)
- 2 tbsp Unsalted Butter (cut into small cubes)
- 1 tbsp Crème Fraîche (or sour cream)
- Salt and Freshly Cracked Black Pepper (to taste)
- Fresh Chives (finely minced, for garnish)
The 5-Step Core to Perfection
Here is the exact technique used in professional kitchens to achieve that ultra-creamy, "spoonable" egg texture.
Step 1: VIGOROUSLY WHISK THE EGGS (WITHOUT SALT!)
Most people salt their eggs immediately. Do not do this. Chefs know that salting raw eggs breaks down the structure too early, resulting in a watery, tough scramble. Instead, crack your four eggs into a bowl and whisk them vigorously with a fork or whisk for at least 30 seconds until they are uniform in color (pale yellow) and slightly frothy. This incorporates air and ensures a light texture. Keep the salt away for now!

Step 2: START COLD, COOK SLOWLY
Here is the crux of the technique: low and slow. Do not preheat your pan. Place your cold, non-stick pan onto the burner set to the lowest possible heat. Add the cubed, cold butter and immediately pour the frothy, un-salted eggs directly on top of the cold butter. The goal is for the butter to melt slowly as the eggs begin to warm up, creating an emulsion that results in a creamy texture. This step defines patience.

Step 3: CONSTANT STIRRING & SCRAPING
Using your flexible silicon spatula, begin to stir the mixture constantly. You are not trying to create large curds; you are trying to prevent them. Continuously scrape the bottom and the sides of the pan as the tiny curds begin to form. The motion should be figure-eights or small circles. If you see large clumps forming or if the eggs begin to stick, you are cooking them too fast (see Step 4!). Keep stirring until the eggs look like thick, wet custard.

Step 4: MANAGE THE HEAT (OFF-PAN METHOD)
If you see Steam, you are failing! If you see steam rising, the pan is too hot and your eggs will dry out in seconds. To fix this, simply lift the pan completely off the burner and continue stirring vigorously while it holds the residual heat. After 15-20 seconds off the heat, return it to the low burner. Repeat this process—on the heat for a minute, off the heat for 20 seconds—throughout the cooking process. This total temperature control ensures that velvety finish.

Step 5: HALT THE COOKING (THE SECRET INGREDIENT)
The most common mistake is overcooking the eggs on the heat. Eggs continue to cook even after you slide them onto the plate, meaning if they look done in the pan, they will be dry by the time you eat them. Pull them off the burner early. When they are still incredibly soft and glossy, remove the pan from the burner entirely. Immediately add 1 tablespoon of cold crème fraîche (or sour cream). Stir this in quickly. The cold dairy immediately drops the temperature, halting the cooking process and adding that chef-level richness and tang. Now you can add your pinch of salt and pepper.

Garnish with the fresh chives and serve immediately on a warm plate (like the rustic ceramic one used for the hero image). Happy breakfasting!