Is anyone else absolutely obsessed with sweet potatoes? They’re nutritious, naturally sweet, and incredibly versatile. But let’s be real—oven-roasting them takes upwards of an hour, and sometimes, you just don't have that kind of patience (especially when that mid-afternoon hunger hits). Enter the microwave. Forget the haters; when done correctly, a microwaved sweet potato is fluffy, perfectly cooked, and ready in under 10 minutes. Today, we’re sharing our foolproof method for achieving that “baked potato” texture in record time, so you can spend less time waiting and more time eating. Let's get "baking!"
Prep time: 2 minutes
Cook time: 5-7 minutes
Servings: 1 sweet potato
SHOP KEY INGREDIENTS & TOOLS
Before we dive in, here are a few things that make this process easier and tastier (affiliate links):
- OXO Good Grips Vegetable Brush: A sturdy brush is essential for cleaning that sweet potato skin.
- Maldon Sea Salt Flakes: Our favorite finishing salt for a crunchy, savory pop.
- Silicone Microwave-Safe Plate (BPA Free): To keep your microwave clean and catch any drips.
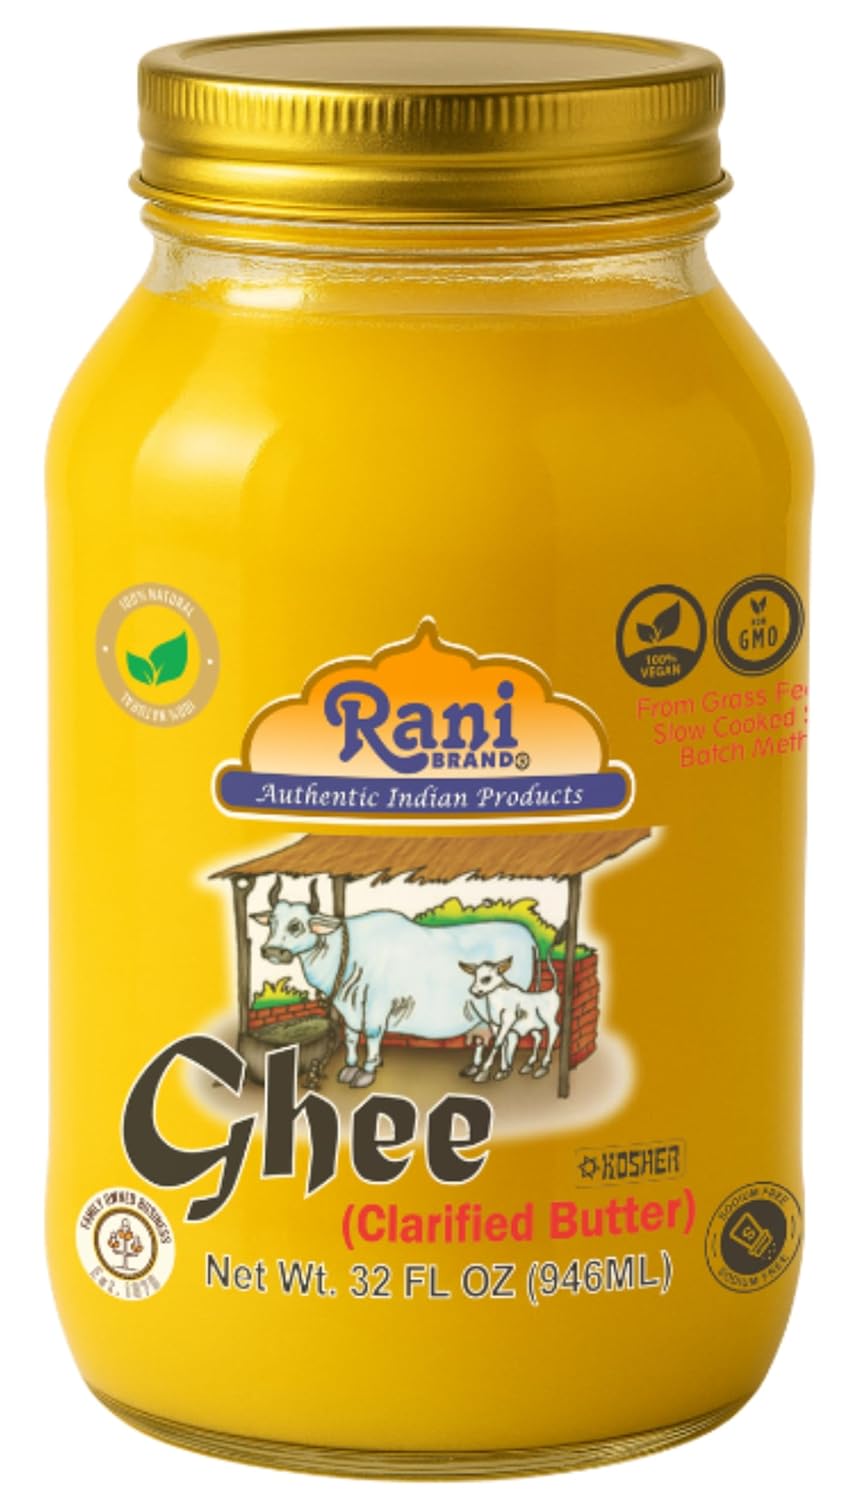
- Grass-Fed Ghee (Clarified Butter): Shelf-stable and incredible on hot potatoes.
FULL RECIPE INGREDIENTS
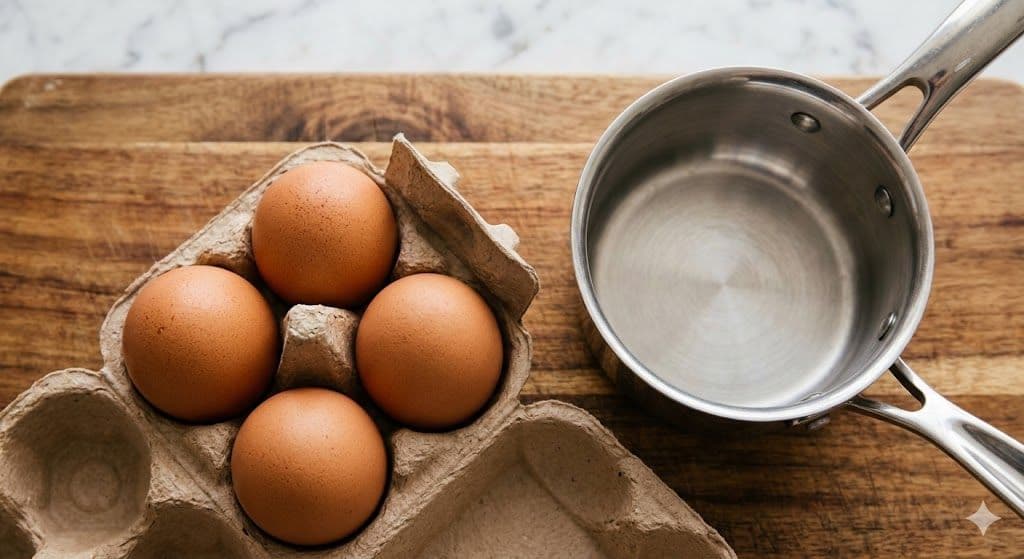
Let's gather our components. The best recipes are often the simplest, and this one only requires a handful of kitchen staples.

- 1 medium sweet potato
- 1 tablespoon butter or ghee
- A pinch of flaky sea salt
- Freshly ground black pepper
- Optional toppings: Chives, sour cream, paprika, or chili flakes.
Here is an overhead view of everything we need to create this speedy lunch.
THE 5-STEP CORE: PERFECT MICROWAVE SWEET POTATO
Follow these steps exactly, and you'll never have a sad, unevenly cooked microwaved potato again.
Step 1: Scrub and Prep

First things first: we must clean the potato. Since sweet potatoes grow underground, they can be quite dirty. Grab your vegetable brush and scrub the skin thoroughly under cold running water. Once clean, pat it dry completely with a paper towel or a clean dish towel. Drying the skin helps it cook more evenly.
Step 2: The Prick (Crucial Step!)

This is the most important step in the entire process. Do not skip this. Using a sharp fork, prick the sweet potato multiple times all over its surface (about 6-8 times). Why? As the potato heats up in the microwave, steam builds up inside. If that steam has no way to escape, your potato will explode, creating a massive, sticky mess inside your microwave. Pricking the skin creates vents for the steam.
Step 3: Olive Oil and Seasoning (The Secret to Flavorful Skin)

Many people omit this step, but for the best flavor, lightly rub the exterior of the sweet potato with a small amount of olive oil (or ghee). Once coated, sprinkle a generous pinch of sea salt and black pepper all over the skin. The oil helps the seasoning stick and makes the skin slightly less paper-like after microwaving. Place the seasoned potato on a microwave-safe plate.
Step 4: Microwave on High (The Main Event)
It’s time to cook. Place the plate with the seasoned sweet potato into the microwave. For a medium-sized potato, start by microwaving on high for 5 minutes. Microwave power levels vary, so the exact time will depend on your appliance and the size of your potato. This step shows the microwave in action.
Step 5: Check, Slice, and Serve (The Fluffy Reveal)
After 5 minutes, carefully check the potato for doneness. Using an oven mitt, gently squeeze the potato (it will be very hot!). If it is soft and yields to pressure, it is done. If it still feels firm in the center, microwave it in additional 1-minute bursts until tender. Once fully cooked, let it rest for 1 minute. Slice the potato lengthwise and use a fork to fluff the sweet, orange interior. Top immediately with a pat of butter (from image_1.png) and fresh chives, as shown.

CONCLUSION
And there you have it! A perfectly cooked, fluffy sweet potato, ready for your favorite toppings in just minutes. We hope you enjoy this super speedy and satisfying lunch hack. Happy "baking" (in the microwave)!